This website uses cookies so that we can provide you with the best user experience possible. Cookie information is stored in your browser and performs functions such as recognising you when you return to our website and helping our team to understand which sections of the website you find most interesting and useful.
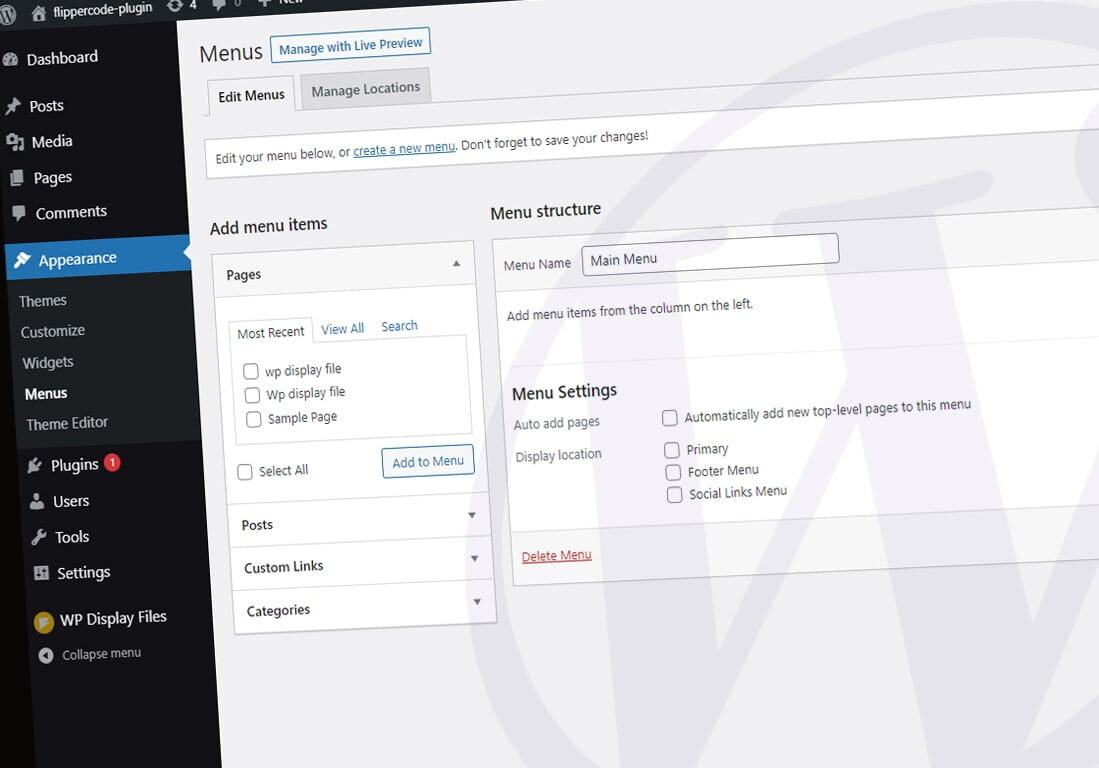
WordPress offers a superb and simplest approach to manage your website menus. If your website theme is supporting to menu then you can create, edit your menus very easily. Here we will discuss in detail how to create and use a new menu for your website.
Creating a New Menu
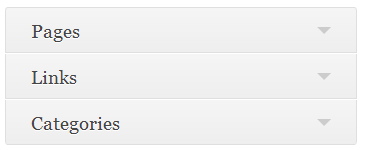
There is three type of menu available in the WordPress Pages, Links, and Categories. Here we will talk about each type of menu one by one.
To create a new menu, go to Appearance → Menus in your dashboard. and then click on the create a new menu link.
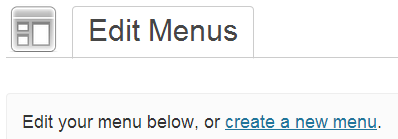
It will open a new window where you can a give desired Menu Name to your menu and then click the Create Menu button.

Adding Pages to Menu
For adding pages to your menu just check the boxes in front of the pages you want to add in the menu and then click on Add to Menu button that’s it. But suppose if you have a number of pages, then you can choose to view your Most Recent pages or Search for a page by its name in the search tab option.

Adding Links to Menu
You can create a menu of different links without making a page. Type your URL and Link Text in the boxes and then click Add to Menu. Like if you want to give a link to other websites in your menu you can give URL of that website.

Adding Categories to Menu
With help of categories menu, you can show your desired category and posts. If you have a lot of categories, then Most Used and Search tab options can help you to choose your desired category. But only those categories will show in the list, which has at least one published post in them.
To make Categories Menu just check the box of the categories you’d like to add, and then click Add to Menu.

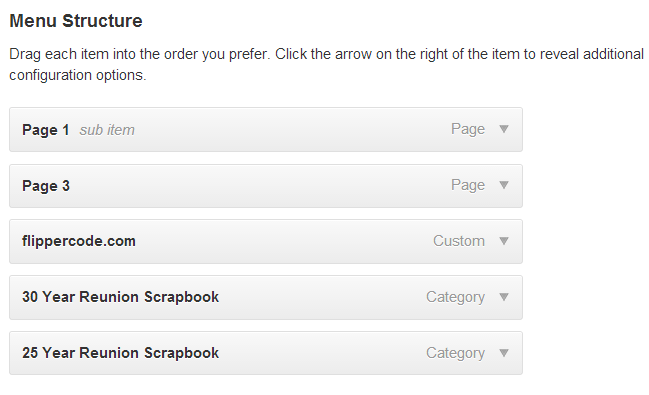
However, you can create a mix item menu by selecting the menu item from Pages, link, and category together. Like in given below images:
How to change the Order and Creating Sub-Menus?
Change Order -WordPress comes with great menu flexibility, just by dragging and dropping the menu items you can change menu order.
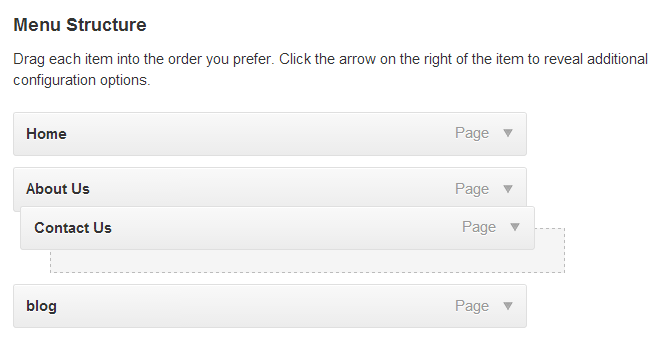
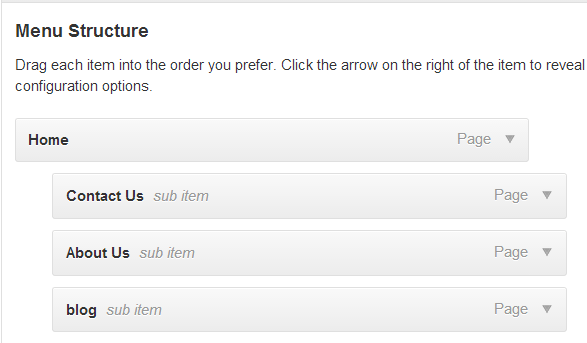
Sub Menu – Similarly to create sub menus or “drop-down” style menus, drag menu items to the right to its parent menu item tab. You can undo this by dragging them to the left.
If you want to make a drop-down menu.like given below image.

These are the necessary settings for making “drop-down” menu:
Menu Item Settings
You can also change the settings of each menu item according to your choice by clicking on the down arrow to the right of the menu item.

On clicking down arrow, you can see a new window where you can see the following options:

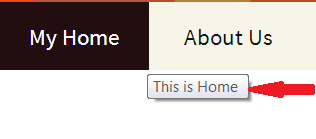
- Navigation Label –With the help of navigation label you can change the name of the menu item. Hence by using this, you can override the default name of the menu item. Suppose you have a page named under ‘Home’. By default, you can see the same name on the menu.But suppose if you want to change the name of menu item without changing the name of page Then with the help of navigation label you can give it a different name. In the given below image, we change the name of Navigation Label from ‘Home’ to ‘My Home’, and you can see the desired change in the website menu.

- Title Attributes – It adds hover text to the menu item. With the help of Title Attributes, you can tell about your menu item to help website visitors.
- Remove –this button delete your menu item completely from the menu list.
- Cancel –You can cancel your changes you have made to it by clicking on this button.
Please don’t forget to click on Save Menu button after making any settings.However, you can delete your menu anytime. by clicking on Delete Menu button.

Explore the latest in WordPress
Trying to stay on top of it all? Get the best tools, resources and inspiration sent to your inbox every Wednesday.


