This website uses cookies so that we can provide you with the best user experience possible. Cookie information is stored in your browser and performs functions such as recognising you when you return to our website and helping our team to understand which sections of the website you find most interesting and useful.

Save data in WordPress in a secure way to reduce SQL injection chances and increase the stability of your project.
Using a few techniques, we can make our WordPress plugin development very secure, which we use in every plugin development project at flippercode.
Essential Checklist for Data Validation
A checklist can be applied whenever you take one of the following actions on your WordPress project.
- Use of add_post_meta or update_post_meta.
- Creating your own form to take input from users.
- Creating an options page for theme development.
- Adding a setting page for your plugin.
Mainly 3 steps we take before saving data in WordPress which are described in detail below.
- Use of Nonce
- Check User Permission
- Sanitize user input.
Why and How to Use Nonce in WordPress
I’d like to explain using an example why we need to use nonce in WordPress to understand it clearly.
Suppose you have a table with user data in each row and a delete button to remove the user. Most probably, the delete button will generate a URL like “index.php?action=delete&userid=2” and will delete the user with user id=2.

WP Core Emails ProCustomize and manage your WordPress emails with ease— no coding required.
Personalize Emails - Get Started
|
What will happen if someone attempts to modify the URL to delete user id 3 without clicking on the delete button? If you didn’t use nonce, it’ll work and will delete the user.
So the solution is ‘NONCE,’ which means ‘Number Used Once.’
A nonce can be created in 3 ways according to the purpose of it. Below are 3 examples to explain each one.
- Adding a nonce to URL – Suppose we’re creating a delete button as below.
Delete Me
The following code will add a nonce field in the URL, which makes it sure that someone must click on the delete button to trash a user.
$delete_url = wp_nonce_url('index.php?action=delete&userid=2', 'weplugins_delete-user-2');

// here 'weplugins_delete-user-2' will be used to verify this nonce.

echo "<a href='{$delete_url}'>Delete Me</a>";
So using wp_nonce_url(), we added a nonce parameter to the URL. Your new URL will look like below.
Delete Me
To verify the nonce on the action URL, use the check_admin_referer function as below.
if($_GET['action'] == 'delete') {
  check_admin_referer('weplugins_delete-user-2');
  // To Do: delete user
}
If nonce verification fails, it gives a 403 forbidden error and terminates the script.
- Adding a nonce in Form : Using wp_nonce_field() function, we add a hidden field in the form. If we’re creating a custom login form, we can use wp_nonce_field as below.
wp_nonce_field('weplugins_delete-comment_'.$comment_id); ?> <label>Username</label> <input type="text" name="username"> <label>Password</label> <input type="password" name="password"> <?php check_admin_referer('weplugins_delete-comment_'.$comment_id); - Use Nonce in Ajax Requests: You can use wp_create_nonce() function to create a nonce and pass that as a variable in Ajax requests.
Check User Permission in WordPress
Each user has their own permissions in WordPress. It’s always a best practice to check user permissions who is handling data. Below is the code to check if the user has edit permission.
if ('page' == $_POST['post_type']) {
    if (!current_user_can('edit_page', $post_id))
        return $post_id;
} else {
    if (!current_user_can('edit_post', $post_id))
        return $post_id;
}
Importance of Sanitization in WordPress
Sanitization is a technique used to make sure user input is absolutely safe to be saved in the database or displayed on a web page. A form in WordPress can be safe from Cross-Site Scripting with the help of sanitization.
Use sanitize_text_field() function to sanitize a text field input before sending it to the database.
$txt_field = sanitize_text_field($_POST['weplugins_custom_txt_field']);
Conclusion
It’s a best practice to always keep your objects in a valid state before saving them in the database or displaying them on the webpage. It’s not necessary to check validations when you’re going to display data on the web page which is already saved in the database, but don’t forget to do so when data is going into a database.

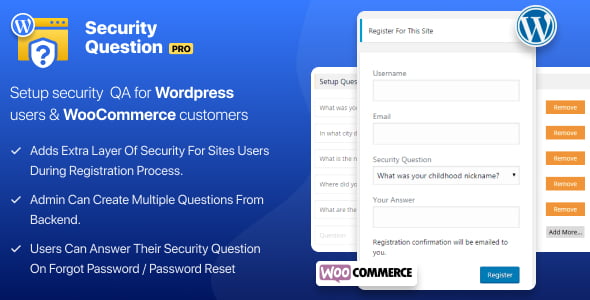
WP Security Questions ProMake your WordPress login safer with easy security questions — no coding skills needed.
Get Instant Access - Download Now
|
Explore the latest in WordPress
Trying to stay on top of it all? Get the best tools, resources and inspiration sent to your inbox every Wednesday.


