This website uses cookies so that we can provide you with the best user experience possible. Cookie information is stored in your browser and performs functions such as recognising you when you return to our website and helping our team to understand which sections of the website you find most interesting and useful.
Google Maps, has helped us in making things very much easier. A user can easily navigate any place on Earth with the help of Google Maps. Besides this, Google Maps has also let the users create fantastic things just as lines, shapes, drawings or creating, and many more things. Here in this, blog we will discuss all about how to draw on Google Maps.
Thanks to Google Maps, that makes travelling easier. Google Maps, are the only medium that makes Navigating through the cities easier. But do you know, that Google Maps has also allowed us to draw routes easily? This is very much beneficial, while you are going on a difficult tour and want to organize it in a better way. Here we have a quick guide that will help you draw a route on Google Maps, that will make your complete tour more organized.
Draw a Line on Google Maps

Premium Plugins Bundle
Simply draw lines or shapes on your existing Google Map. Highlight specific areas or landmarks. Plan your route in a better way, with the help of the instructions below:
Visit mymaps.google.com. Enter the details for user ID and password, to log in to your existing Google Map.
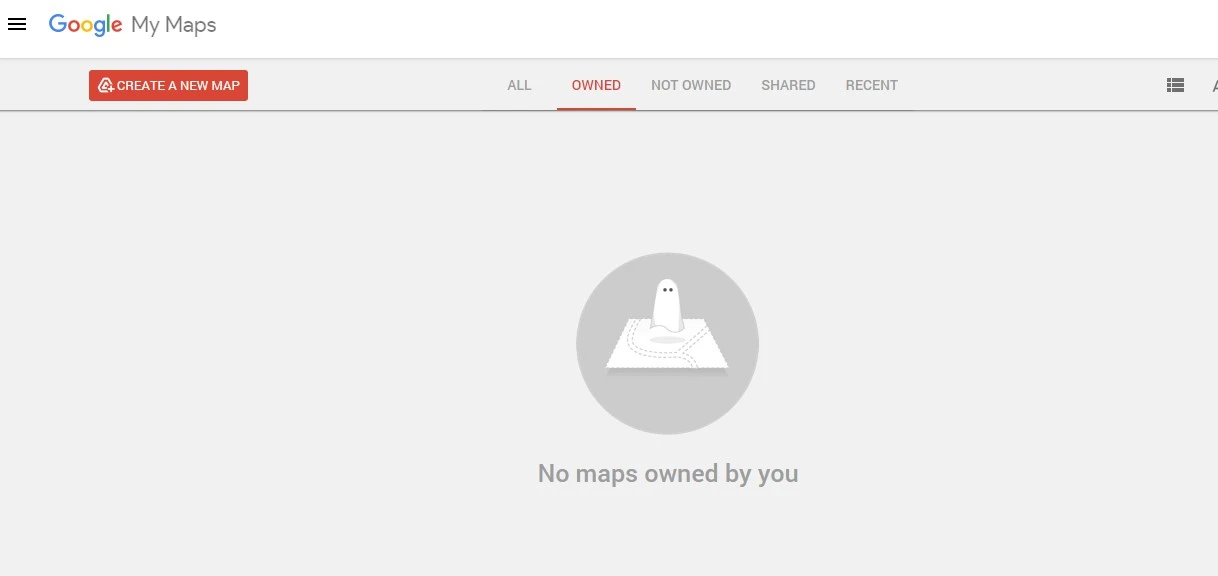
After login, you will be redirected to the Google Account. Choose opting for Create a Map from the menu bar.
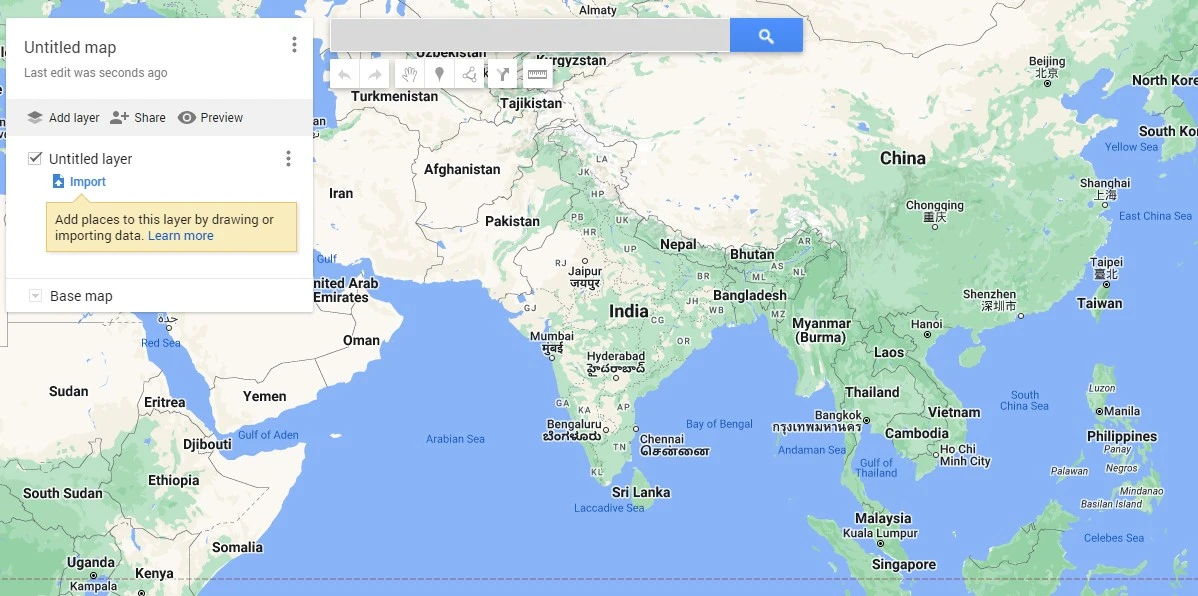
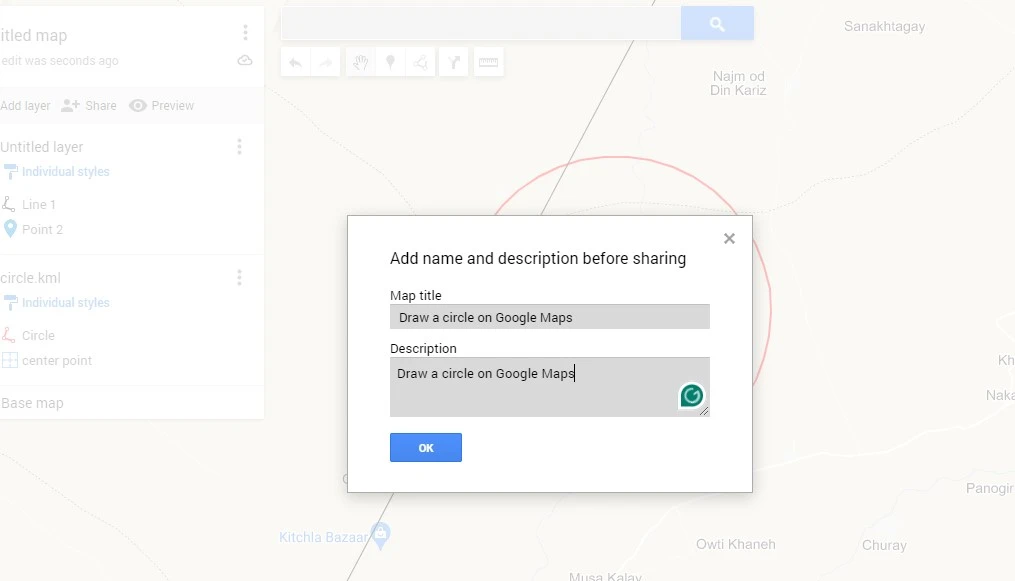
Choose a unique title to display on the upper left-side corner and also add a brief description. You can also share your map or keep it private.
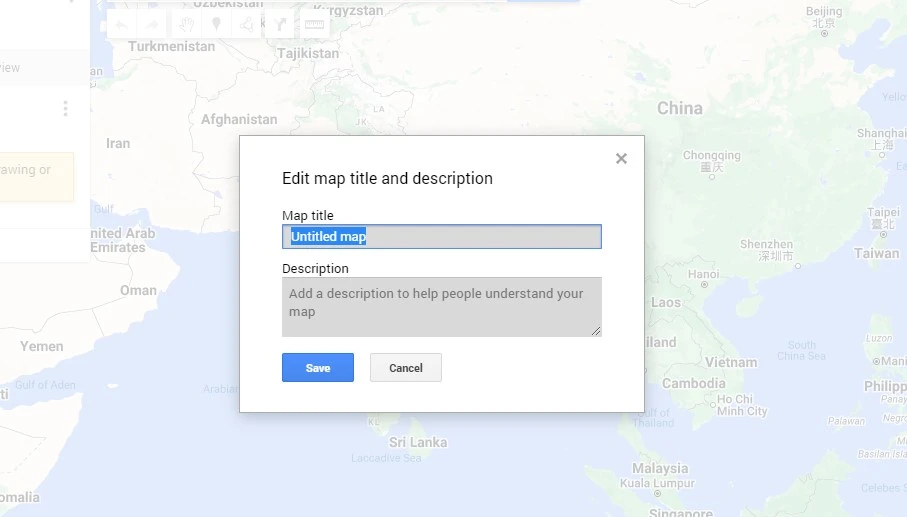
With the help of the line tool, choose a zig-zag line displayed on the top of the webpage. Choose a starting point and start drawing on your map. Drag your mouse and create a line with the help of it. Make use of map points to draw shapes. To end your line drawing tool, you have to double-click.
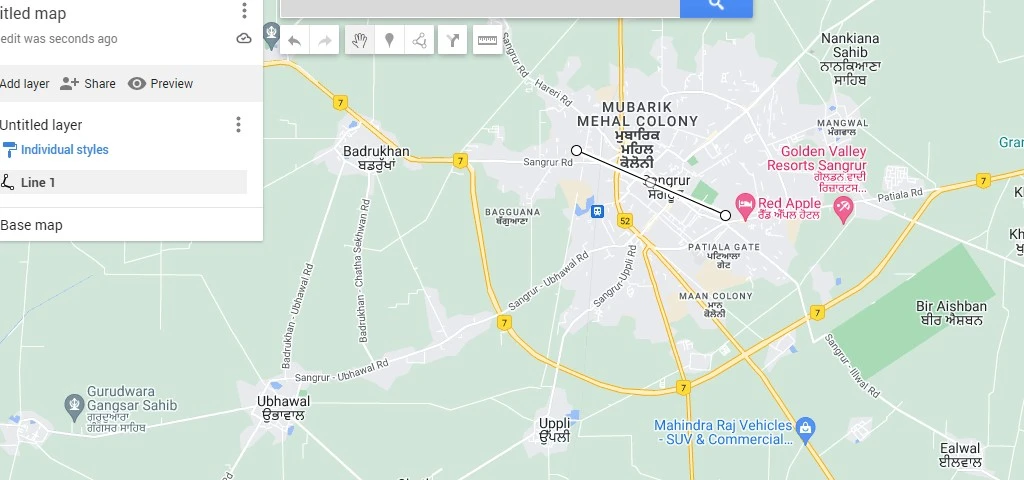
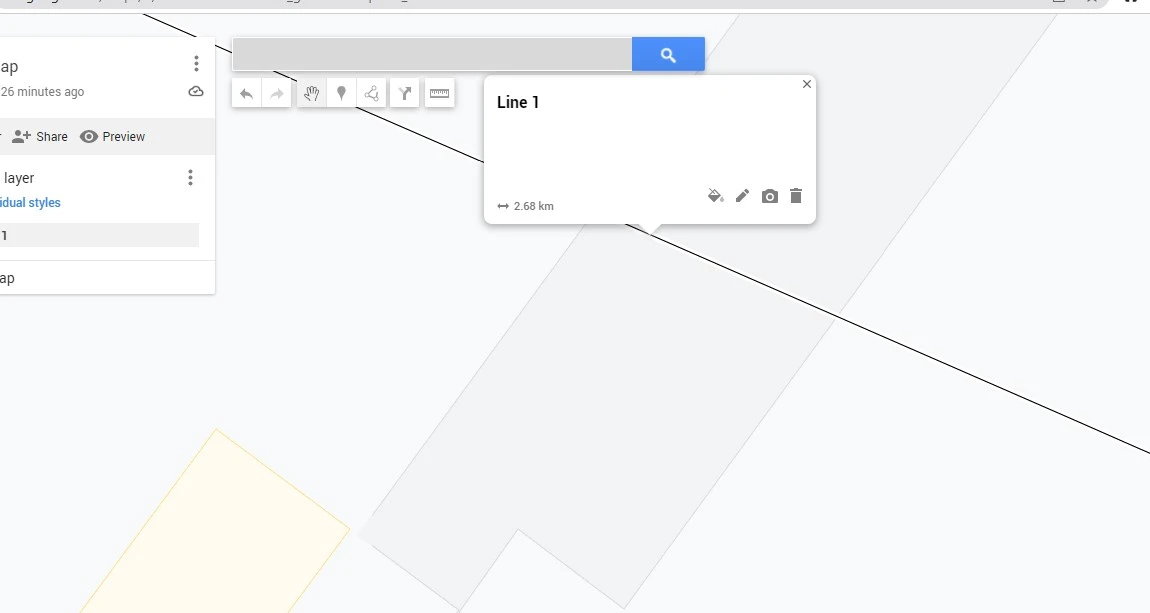
While you take your mouse over the line, you will see a dialogue box appear. Make use of the Dialog box to get details about the distance. Different drawing options that you can check out here are adding images, adding videos, or deleting any place.
Draw a radius on Google Maps
If you are running a small company, then drawing a radius over your business will be very beneficial for you. You have to choose a maximum driving distance from your office or home. You cannot trust Google Maps for creating radius on Google Maps, many third-party tools will ease your creation. So, here we have some of the steps that can help you out.
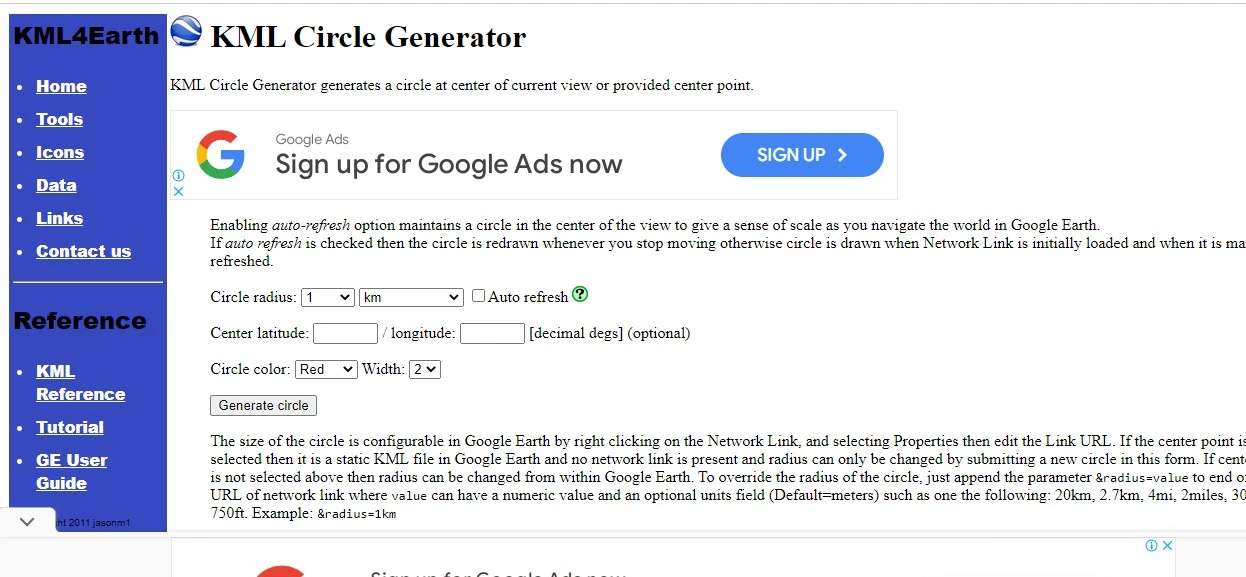
With the help of KML4Earth, you can draw a radius on Google Maps. Here we have steps that ease your creation.
Visit your Google Maps, find a map maker and get that surrounded with the help of a circle. Copy and paste the coordinate longitude and latitude into your clipboard.
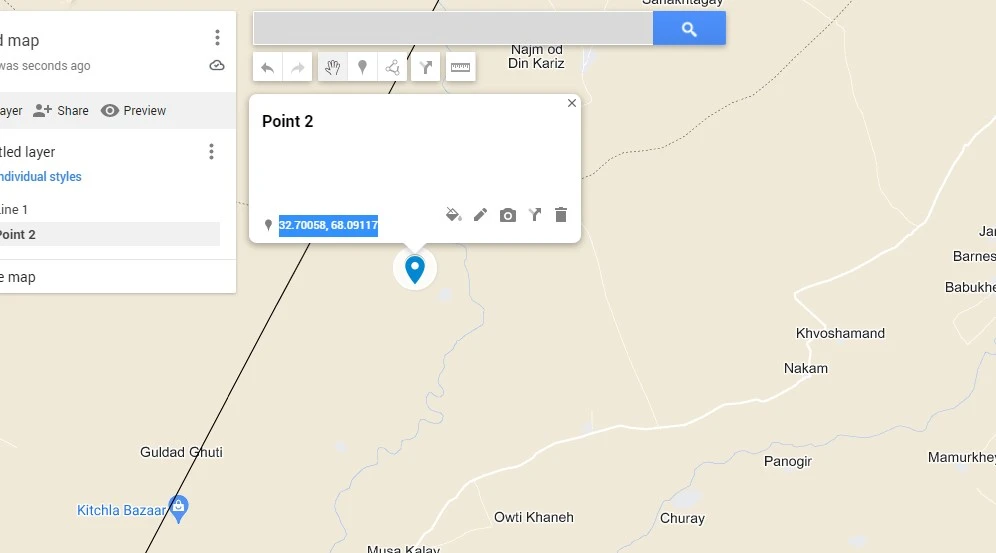
Make use of KML4Earth to start creating a radius. Enter the details of longitude and latitude here and enter details for the radius that you want to enter.

Choose a circle generator, while you are using a KML generator you will have a file generated. You have to save that into your system.
Visit to Google Maps again.

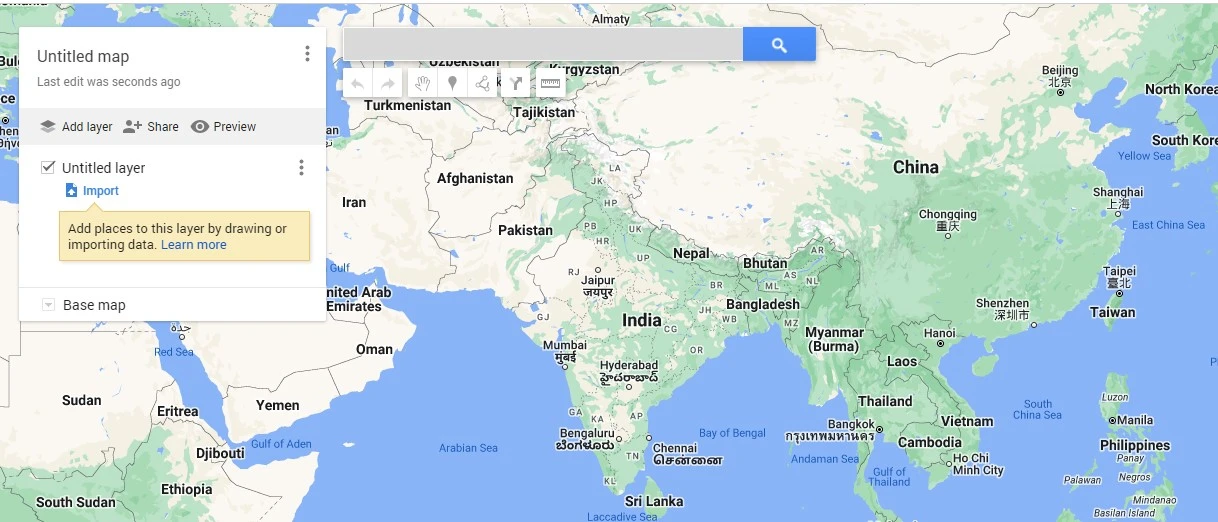
Choose a Google Map to Create a New Map.

Now, create a new Layer and then get that imported from your menu displaying on the left corner.
Import the file that you made earlier.
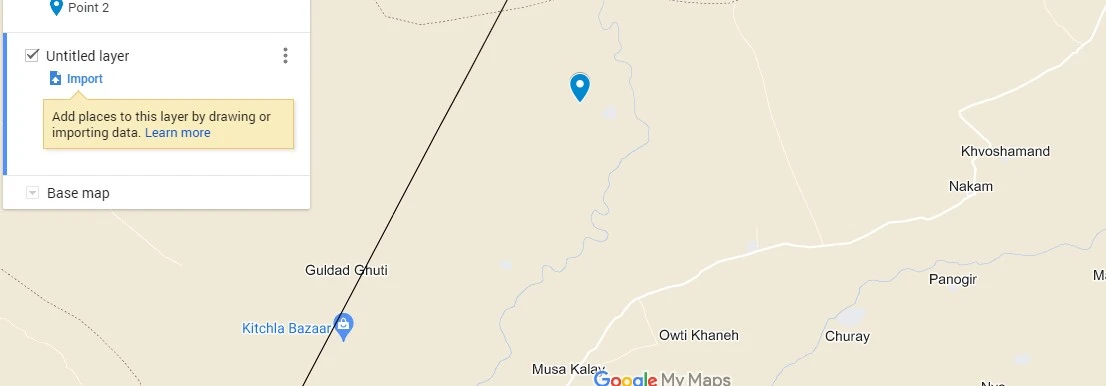
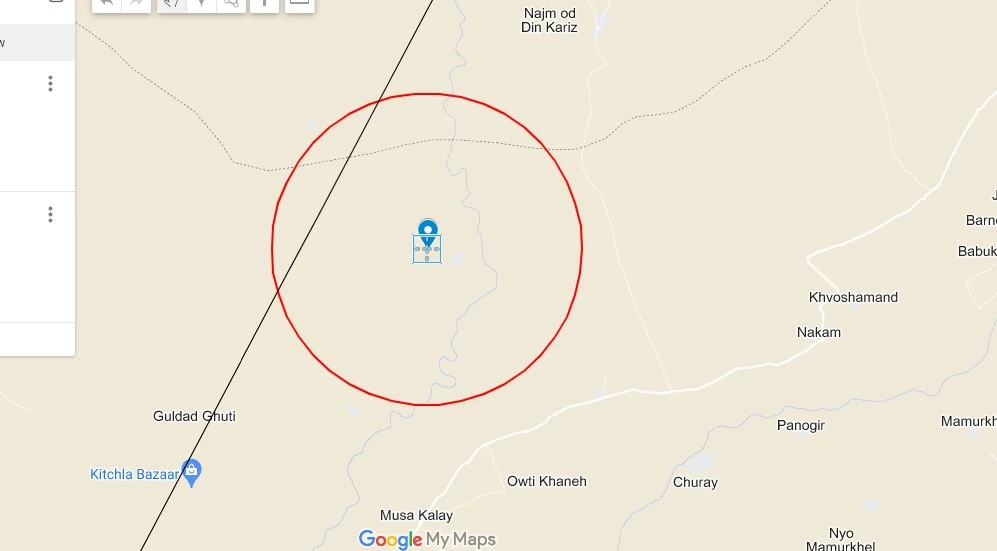
After you have finished, you can download your file. You should not miss adding it to your website using embed code.
Draw a route on Google Maps
For instance, if you are organizing any meet at your place, then while drawing a route you can make it easy to reach your destination. Besides this, you can also make your guest understand about parking areas, travel time, or other major areas. If you’re running a WordPress Site, you can use our plugin to draw on google a custom tour.
After signing in to your account, visit Google Maps in your browser

On the top left corner, click on the horizontal lines displayed in the menu option. Now, click on the Your Places.
From the top of the webpage, click on the maps. Here you can check out different options of maps that you have already saved. In this case, if you have not used Your Places before, then your list will be empty.

At the end, you can create a map.
You can even name your map. From your map, you can choose which map you want to use for the route. From the base map, you can check out which type of map style you want to select.

In the search option, click on add directions where you will see a Y-shaped road. Here you can check out a layer having information about the driving destinations.
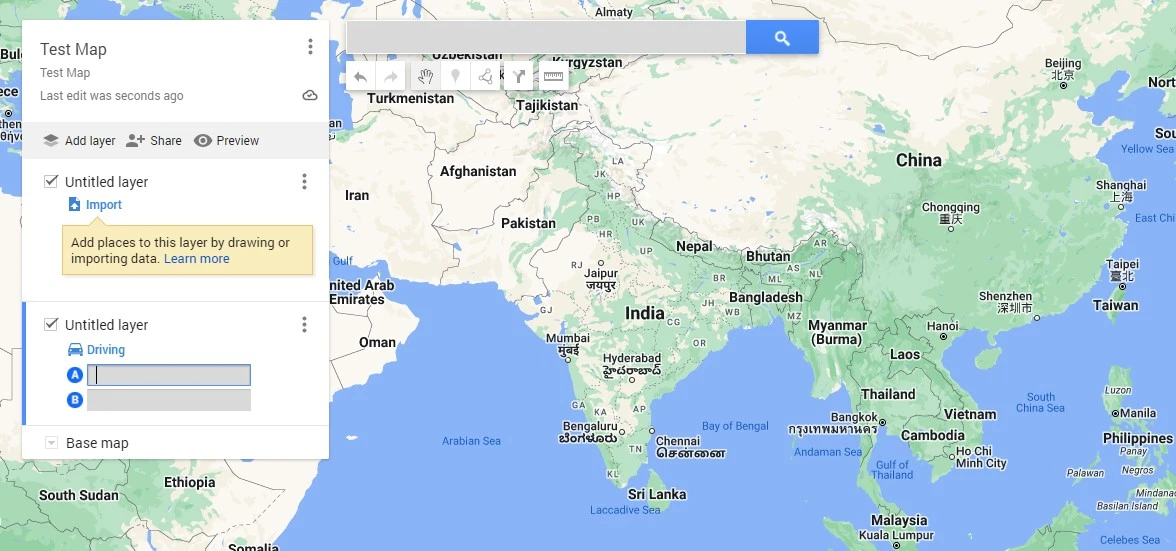
Here you will get all the details about the driving directions. You can choose the mode in which you are travelling like cycling, walking, or via car. After choosing, your medium you have to click on the X button to close your window.
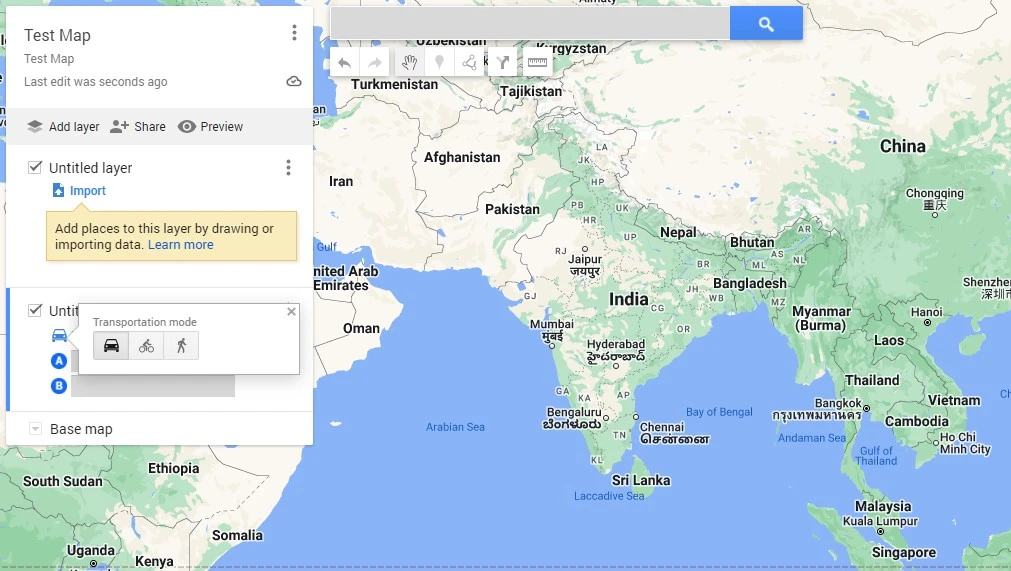
To enter details about address or location name click on the “A” field.
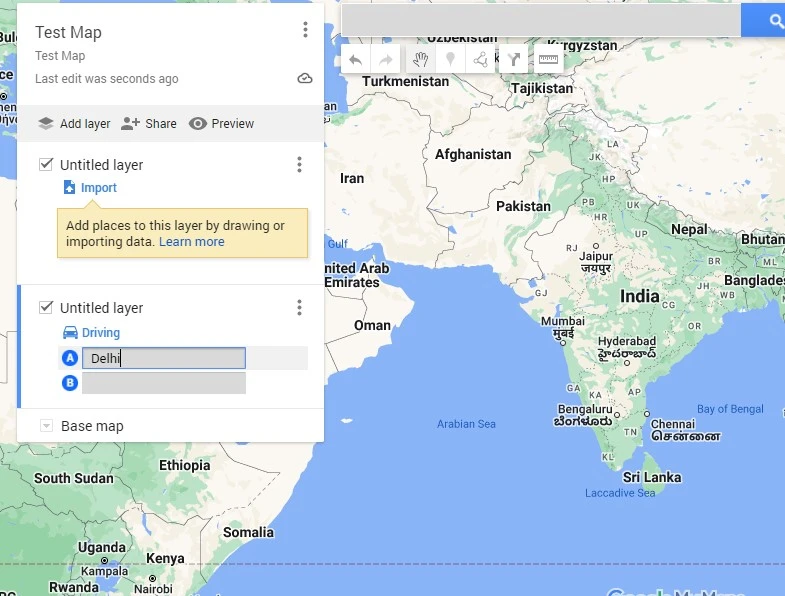
You have to repeat the same process to choose location B.
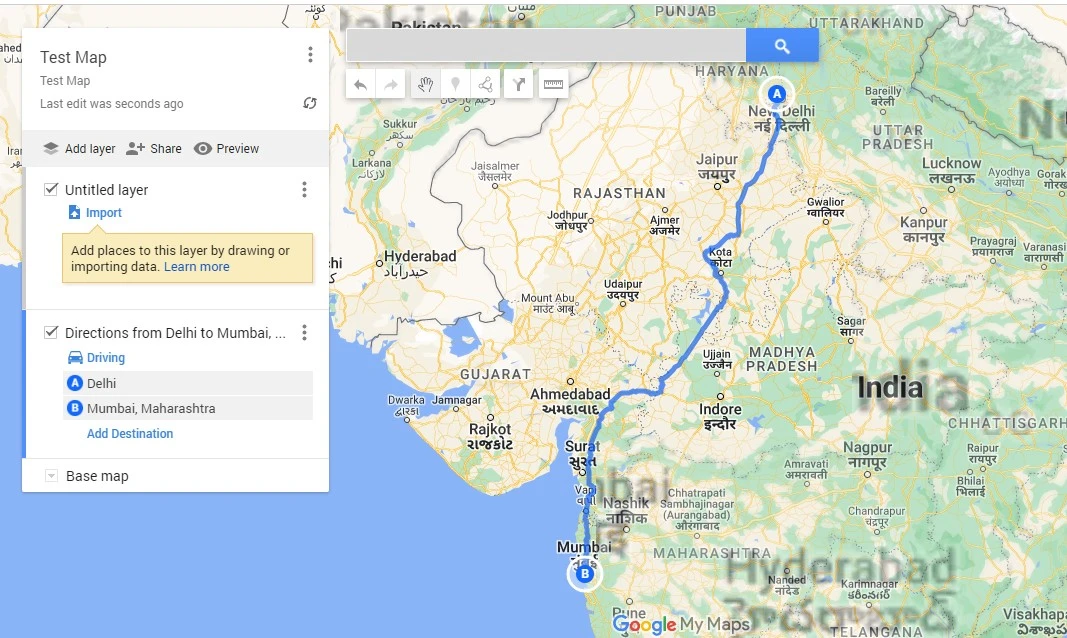
In case, you want to add more information about the destinations, then choose the option for the destination and add new places.
After you have completed it, you can give a name to your map. To do so, click on the Untitled Map and save the map.
Conclusion
Drawing on Google Maps is super handy for all sorts of projects! Whether you’re mapping out a road trip, planning a new route, or just highlighting areas of interest, Google Maps makes it easy. With our step-by-step guide, you can easily draw lines, circles, and routes to get the most out of your maps. Give it a try and see how drawing on Google Maps can be interesting.

Premium Plugins Bundle
Explore the latest in WordPress
Trying to stay on top of it all? Get the best tools, resources and inspiration sent to your inbox every Wednesday.


