This website uses cookies so that we can provide you with the best user experience possible. Cookie information is stored in your browser and performs functions such as recognising you when you return to our website and helping our team to understand which sections of the website you find most interesting and useful.
How To Manage Admin Email Content

Sandeep Kumar Mishra
in
Plugin Docs > WP GDPR Pro
November 9, 2021
5 minutes read
This step-by-step guide will empower you to streamline and customize admin email content, ensuring that your correspondence is informative, professional, and aligns seamlessly with your platform’s objectives. Join us on this journey to enhance your admin email communication, fostering a more efficient and user-friendly digital experience.
When a user submits a data access form from the frontend an email is sent to the user and admin both. admin can update these emails from the backend manage user email content page.
Follow these simple steps to set up this plugin:
Step 1: Install & Activate WP GDPR Pro Plugin.
Step 2: Please navigate to the “WP GDPR Pro-> Admin Email Content” in the plugin’s navbar.
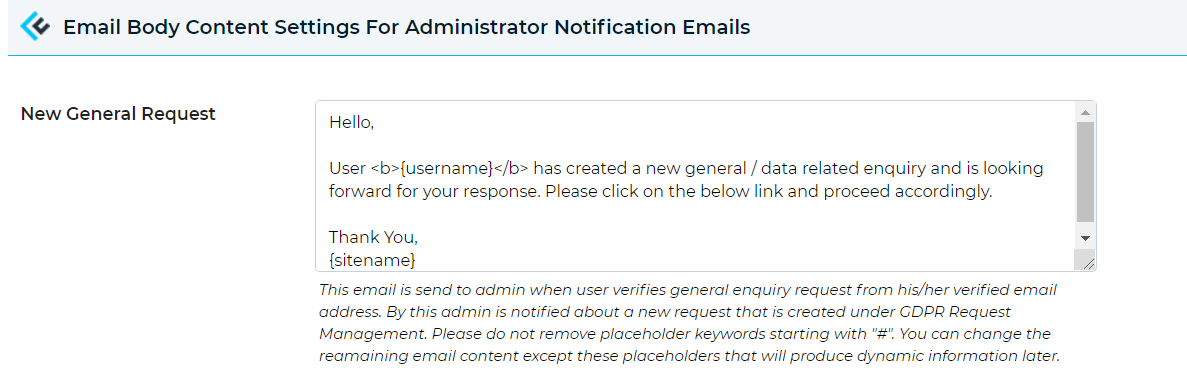
New General Request :
Step 3: Please navigate to the “New General Request” labeled textbox and you will see here email text update email content as per your need.
This email is sent to the admin when the user verifies a general inquiry request from his/her verified email address. By this admin is notified about a new request that is created under GDPR Request Management. Please do not remove placeholder keywords starting with “#“. You can change the remaining email content except for these placeholders that will produce dynamic information later.
New Account Delete Request:
Step 4: Please navigate to the “New Account Delete Request” labeled textbox and you will see here email text update email content as per your need.
This email is sent to the admin when the user verifies the delete account request from his/her verified email address. By this admin is notified about a new request that is created under GDPR Request Management. Please do not remove placeholder keywords starting with “#“. You can change the remaining email content except for these placeholders that will produce dynamic information later.

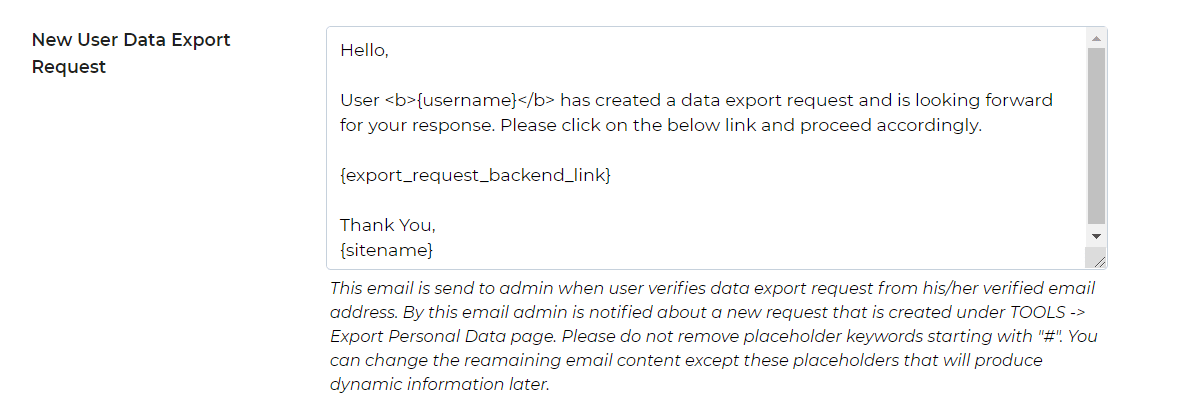
New User Data Export Request:
Step 5: Please navigate to the “New User Data Export Request ” labeled textbox and you will see here email text update email content as per your need.
This email is sent to the admin when the user verifies the data export request from his/her verified email address. By this email, the admin is notified about a new request that is created under the TOOLS -> Export Personal Data page. Please do not remove placeholder keywords starting with “#“. You can change the remaining email content except for these placeholders that will produce dynamic information later.
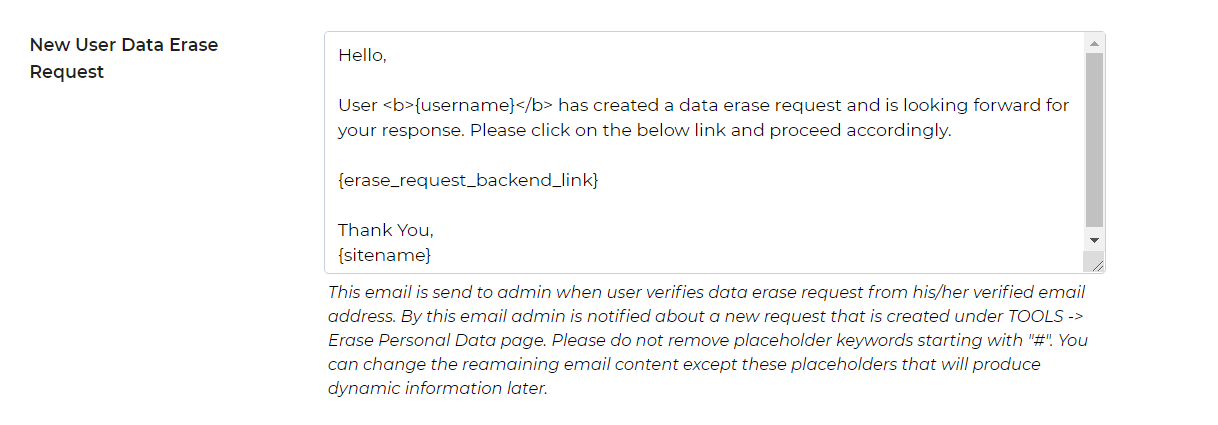
New User Data Erase Request:
Step 6: Please navigate to the “New User Data Erase Request” labeled textbox and you will see here email text update email content as per your need.
This email is sent to the admin when the user verifies the data erase request from his/her verified email address. By this email, the admin is notified about a new request that is created under the TOOLS -> Erase Personal Data page. Please do not remove placeholder keywords starting with “#“. You can change the remaining email content except for these placeholders that will produce dynamic information later.
Step 7: After doing these small changes please save this setting.
Explore the latest in WordPress
Trying to stay on top of it all? Get the best tools, resources and inspiration sent to your inbox every Wednesday.