If you are running a WooCommerce-powered online business, you should know the importance of the Checkout page and how it can influence the shopper’s purchase decision. For best results, you need to customize the Checkout page exactly according to your business requirements.
This is where WooCommerce custom fields can be handy. Through this blog, you will learn how to add advanced custom fields on WooCommerce checkout pages.
What is a WooCommerce checkout page?
A WooCommerce checkout page refers to the eCommerce store page that appears when an online shopper has completed their purchase. At this point, the shopper is ready to check out from the store and make payment for their goods. In eCommerce, a checkout page is important for both the customer and the seller for a smooth transaction.

Customers use the checkout page to enter details like their delivery address, preferred time of delivery, along with their payment information. Similarly, the eCommerce business needs to configure the Checkout page with the right custom fields for WooCommerce to get the right customer data.
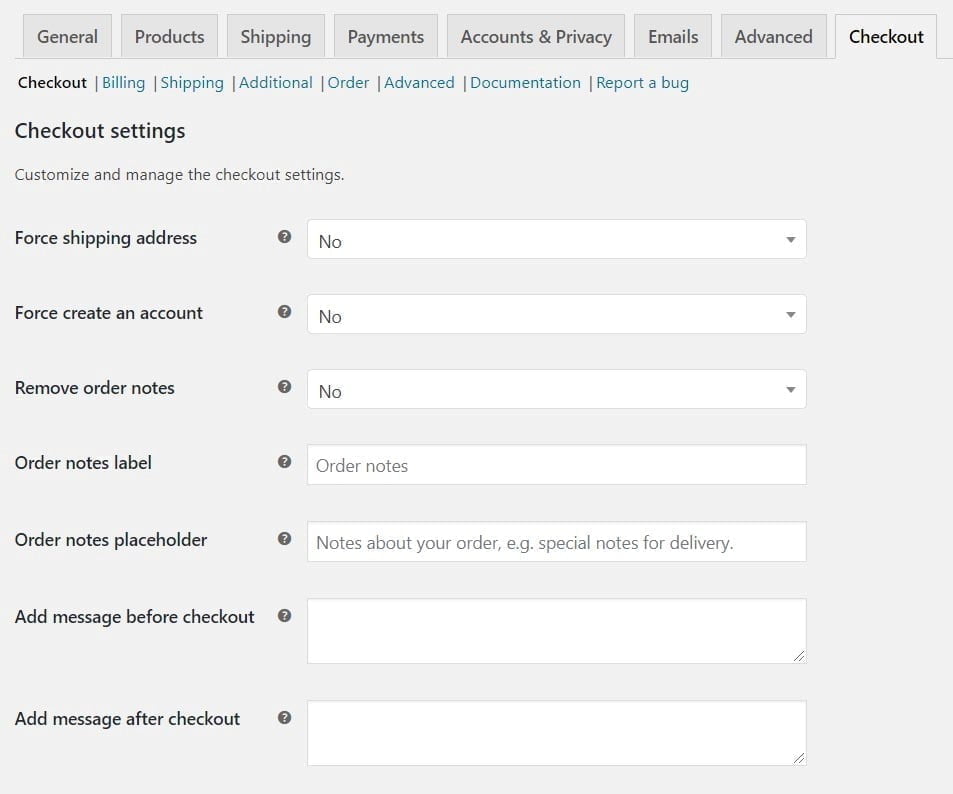
For businesses’ convenience, the WooCommerce plugin provides several predefined fields on the Checkout page. However, you cannot easily customize the Checkout page (from WooCommerce settings) to suit your business requirements.
Next, we shall discuss how to add WooCommerce custom checkout fields.
How to add an extra WooCommerce custom checkout field

Primarily, there are two ways to insert WooCommerce additional fields on the Checkout page:
- Through custom coding: This method can only be implemented if you have some basic coding knowledge. Using custom coding, you can add your custom fields to the checkout page. For this, you need to add the custom code to your current WordPress theme’s “functions.php” file.
- Through a plugin: The plugin method is recommended for users without any programming knowledge. You can install any WooCommerce custom fields plugin to implement this function. Compared to the coding method, this is much easier and can be performed by any user with basic WordPress knowledge.
Next, we shall discuss how non-coders can use WordPress plugins to add custom fields on their WooCommerce checkout page.
Using a Custom Fields plugin – Tutorial for Non-coders
As mentioned in the previous section, you can add your custom fields to your WooCommerce checkout page using a Custom Fields plugin. You can select from various plugins available in the market including the following ones:

You can use any of these available plugins to easily add custom fields to your checkout page. In this blog, you will learn how to add custom fields with the “Checkout Field Editor & Manager for WooCommerce” plugin.
You first need to install this plugin on your WooCommerce site and then activate it for use. After this step, the following steps need to be executed:
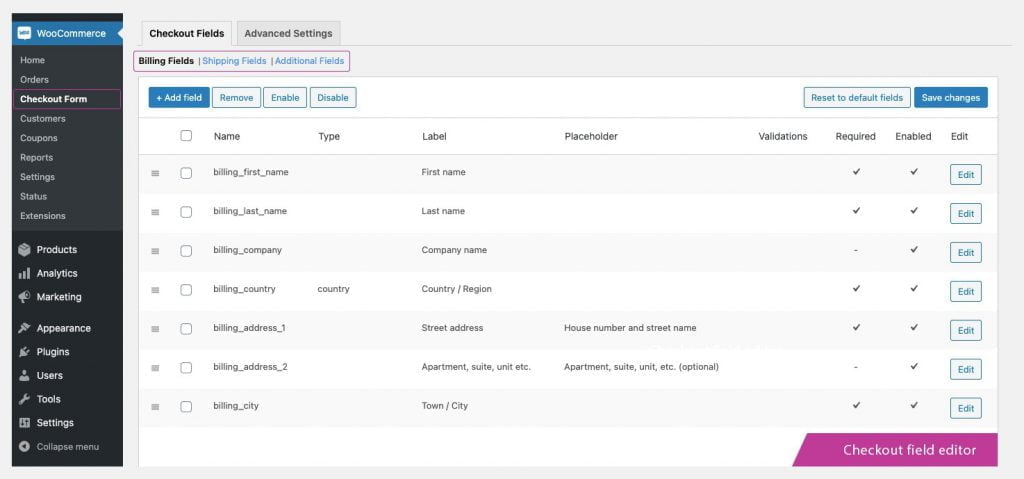
- Sign into your WordPress Admin dashboard and navigate to the WooCommerce > Checkout Fields page.
On the “Build Your Form” page, you can view the default fields for the following tabs on the right-side panel:- Billing Fields
- Shipping Fields
- Order Fields
On the left-side panel, you can view 6 types of fields that you can add to your checkout page. This includes:
- Text: to add a text box field.
- Select: to add a select checkbox.
- Text Area: to add a bigger text area field.
- Radio: to add a radio button to your checkout page.
- Paragraph: to add a paragraph (with information) to the checkout page.
- Header: to add a customized header section.
- Drag and drop the type of field you want to add to the checkout page. For example, use the “Text” field if you want to add a field for phone numbers.
- Specify if you want the custom field to be a required one or optional for the user. Required fields are marked with a * sign.
- Add as many custom fields as possible to the default checkout page. Click “Save Changes” to commit the changes you have made.
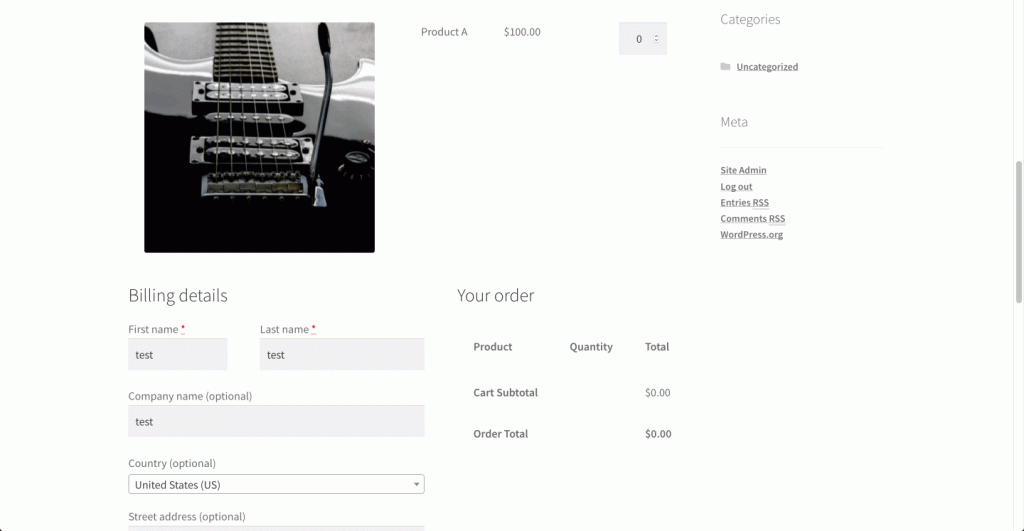
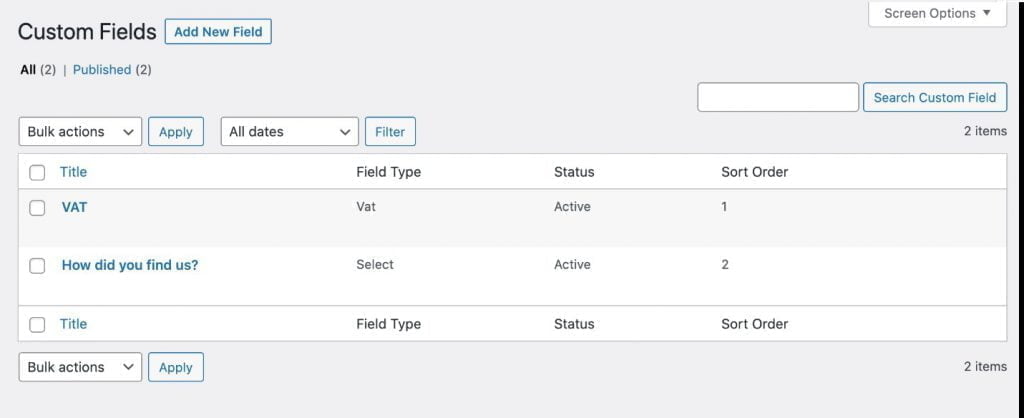
Once you go live with the changes, you can view the added custom fields on your Checkout page.
Conclusion
As you can see, you can easily add WooCommerce custom fields to your checkout page as per your online business’ requirements. By using a custom field plugin, you can simply drag and drop the extra fields to your default checkout page.
Over the years, Flipper Code has developed its expertise in WooCommerce development. You can use our services to build a complete eCommerce store right from scratch. As an online business owner, you should also read this blog to learn how you can add a Customer Feedback Form to your WordPress website.
We can help you leverage the immense capabilities of the WordPress platform. Register on our website or drop us a message. We will be glad to get back to you.